SHOP NOTE: We ship every 2-to-4 weeks in order to batch orders for sustainable labor. Thank you for understanding!


Simple File Preparation Guide
For a more in depth guide, click here.
1.
PDF CREATION
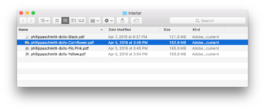
For each color layer you want to print, Make a 300 DPI PDF in Greyscale at actual size and labelled by color, exported as single pages (as opposed to spreads.) For example a 2-color print would be: “filename_red.pdf” and “filename_black.pdf.” Repeat this process for each page and enclose full-color reference images when necessary.
2.A.
COLOR FLATS
For any large color flats, reduce to 80% opacity. Beware large flats may smudge and we may alter your file slightly for optimal printing. Color flats will always have a variance in color coverage, sometimes called a "tide mark."
2.B.
COLOR MIXING
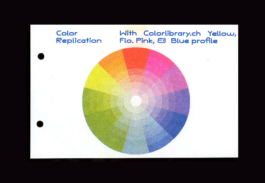
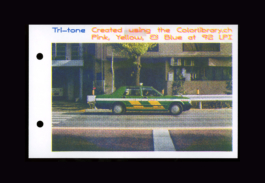
Colors mix better when you pair two lower-to-medium opacity colors with each other. For example 50% Red and 50% Blue will combine better than running both at 100%. This has to do with the density of the liquid ink and the physics going through machine and onto paper.
2.C.
MULTI-COLOR FILL
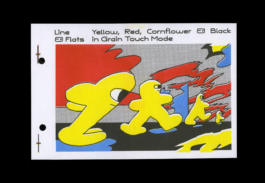
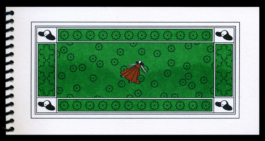
For any areas of color-fill or block-color printing, consider adding “trapping.” These are areas which “line” and “fill” overlap each other to create a pocket of double ink, rather than white space, during color alignment. The above is an example of a poorly trapped and poorly aligned image.
2.D.
COLOR SEPARATION
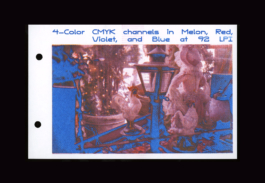
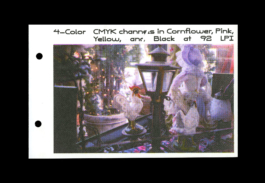
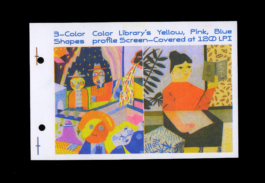
There are many different ways to create color separations from a multi-colored file. Whether you use a color profile like colorlibrary.ch to automatically create basic channels, follow a youtube tutorial, or wing it, there is not necessarily a wrong way, just different ways. We have some tutorials on our resource page if you are interested
3.
TYPOGRAPHY
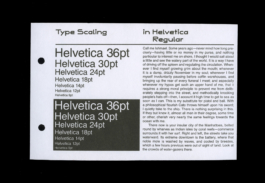
For any small typography, convert to from “live type” to outlines (cmd+o) and change the fill color from black to “registration black.” Do not set type below 7pt. Beware white type on black background will fill in slightly.
4.
IMAGE TREATMENT
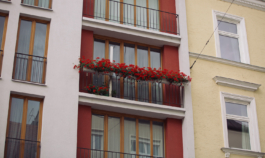
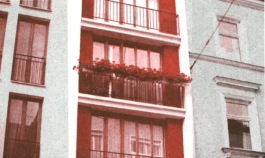
Do not pre-apply any halftones to images, the riso will do this.
5.
EFFECTS
Flatten all effects and transparencies on complicated documents, otherwise you may get undesired artifacts in your print
6.
BLEED/TRIM
Allow for at least 1/4 an inch on all sides of printed sheet (full bleed print is impossible, but trimming is possible.) Add crop marks if necessary.
7.
RESOURCE CONSERVATION
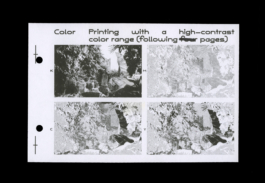
Consider printing multiple images on a single sheet, or “ganging up,” to save resources and double output when possible. Sheets can be trimmed to create multiples. On this same note, ask yourself if your project could be less pages, less ink, etc.
8.
IMPERFECTIONS
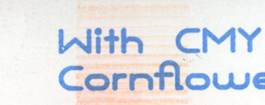
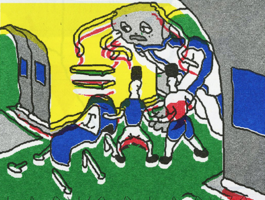

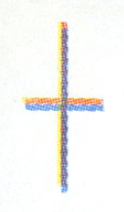
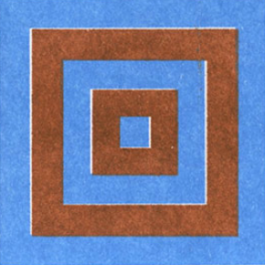
Be aware slight color skew and other imperfections may occur and is a normal feature in this method of high-speed high-volume printing. Think “newspaper” rather than “fine photo print.”
9.
FURTHER QUESTIONS
Feel free to reach out with any specific questions.
10.
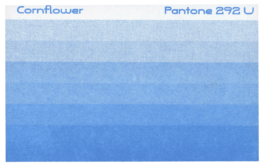
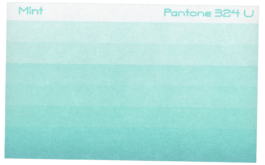
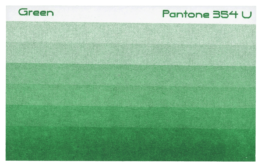
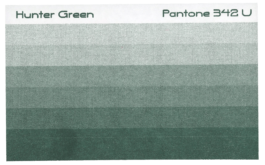
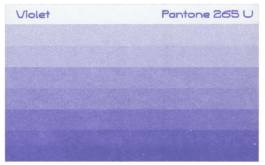
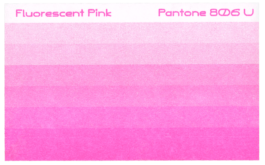
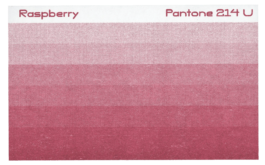
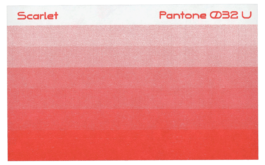
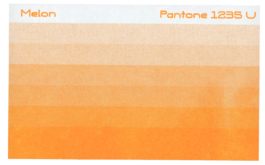
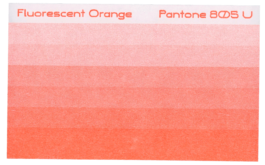
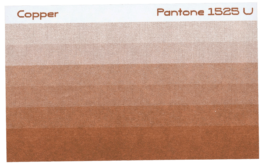
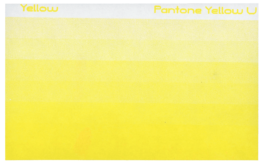
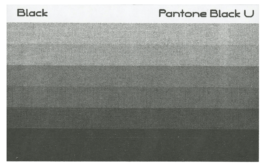
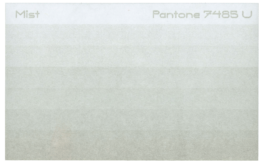
COLORS
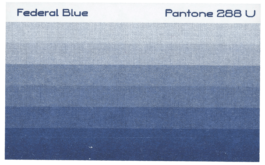
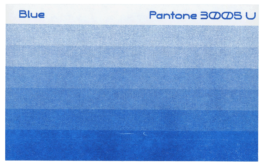
PREMIUM COLOR
